好文配好圖,結合我的科研實踐和身邊研究人員的使用頻率,極力給小夥伴們推薦Inkscape用於矢量圖編輯。讓你得心應手畫圖,告別「科研能力強,配圖能力弱」的窘境。
一、Inkscape 簡介
Inkscape是一款專業的矢量圖編輯工具,功能就像 CorelDRAW 或 Illustrator,可運行在 Windows、Mac OS X 以及 Linux 平台上,它是開源的自由軟體。

二、Inkscape 特點
簡單易用
滑鼠箭頭放在相應的圖標上會提示如何使用,簡單說你可以邊學邊作圖,無師自通。
免費自由
Inkscape是免費軟體,且無限制下載使用,甚至可以翻譯修改它。
用途廣泛
對於設計師等,Inkscape 可以幫助您將不成熟的素材(一張塗鴉、照片、素描等)轉變成專業的設計,得到的圖片可用於廣告發布、模型製作、海報製作、名片製作等;對於學術研究,通常用於後期編輯高質量的論文圖用於文章的發表。
支持多種格式
Inkscape支持的常用輸入格式為SVG,但也可以輸入AI(Adobe Illustrator)、PDF等等格式,Inkscape支持多種導出格式:SVG、PNG(用於獲取高質量論文發表圖)等格式。
支持不同系統
Inkscape除了支持Windows外,還有Linux與Mac版本,所以不管你用什麼系統都可以使用。
支持多語言
目前支持多種語言版本:中文與英語等。
三、軟體下載
Inkscape官方網站:
https://inkscape.org/zh/release/0.92.2/
選擇適合自己作業系統的版本,安裝過程中會提示選擇語言。
本文介紹以windows版本為例。
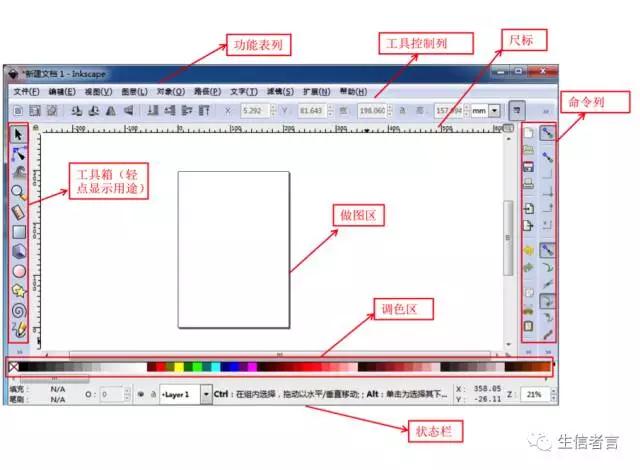
四、操作介面示例
五、常用操作技巧
拆解圖形
文件(PDF格式圖為例)➡️ 導入 ➡️ 漸變曲面的精度等級選擇「非常精細」 ➡️ 確定 ➡️ 右鍵解除群組(拆解圖形進行單個編輯)
圖形變形操作技巧
使用工具:點一下「縮放」和「移動」功能;點兩下「旋轉」和「傾斜」功能。
基本幾何圖形繪製技巧
拆解圖形
文件(PDF格式圖為例)➡️ 導入 ➡️ 漸變曲面的精度等級選擇「非常精細」 ➡️ 確定 ➡️ 右鍵解除群組(拆解圖形進行單個編輯)
圖形變形操作技巧
使用工具

:點一下「縮放」和「移動」功能;點兩下「旋轉」和「傾斜」功能。
基本幾何圖形繪製技巧
使用工具:


手繪工具:


調整工具:

圖形填色技巧
色彩選取工具吸管「

」:先點擊
選擇圖形,然後選取色彩
色彩填充:先點擊選擇圖標「
」,然後選擇需填充色彩
文字編輯技巧
使用工具

:路徑文字點下輸入;段落文字框選範圍輸入
導出圖像
文件➡️ 導出圖像(設置像素:一般為600 dpi)➡️ 導出圖像
對於Inkscape的學習和使用,這僅僅只是一個開始,但學會這幾招,你已經可以做出一些簡單但實用的圖形了。
除了基本的點、線、面、圓形、曲線等之外,Inkscape支持立體色彩等等高級功能。想繼續了解這些更高級的複雜操作,請參照官網上的Inkscape tutorial。
舉個例子
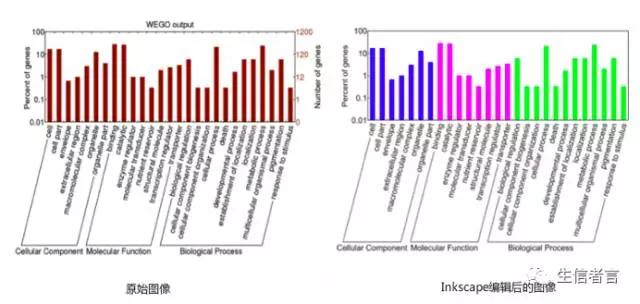
Fig. 基於WEGO樣本數據做出的GO annotation 圖像
下面我們就一步步來看一看,如何用Inkscape完成上圖的編輯:
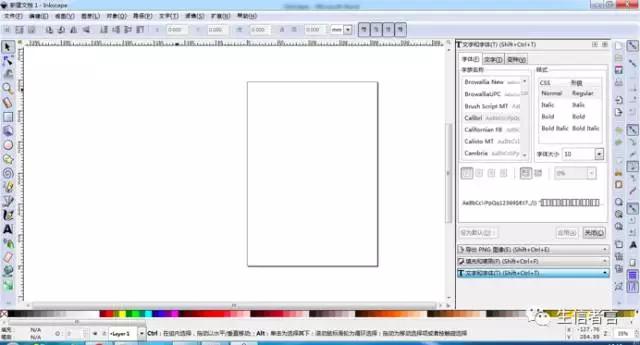
1
雙擊打開Inkscape軟體
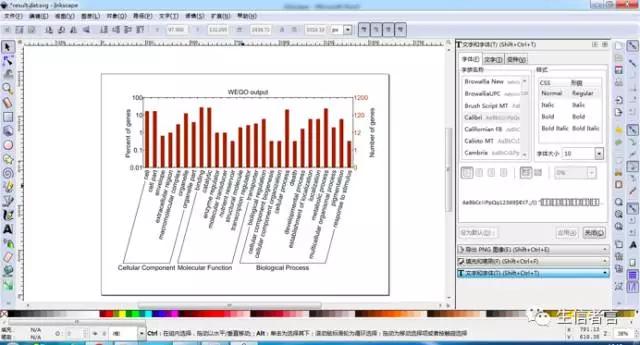
初始介面如下圖所示:
2
導入需要編輯的圖像
點擊左上角文件,選擇 「導入」,導入SVG格式圖像到做圖區,結果如下圖所示:
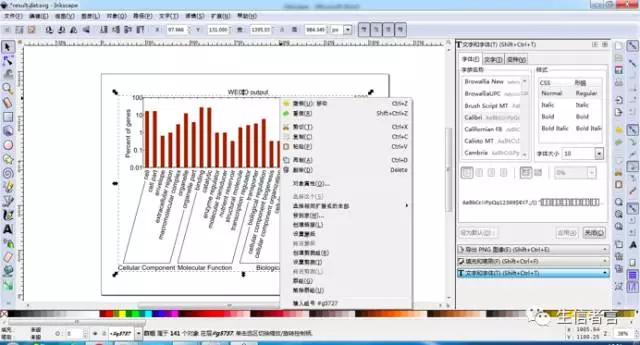
3
使用工具單擊圖像,右鍵選擇「解除群組」
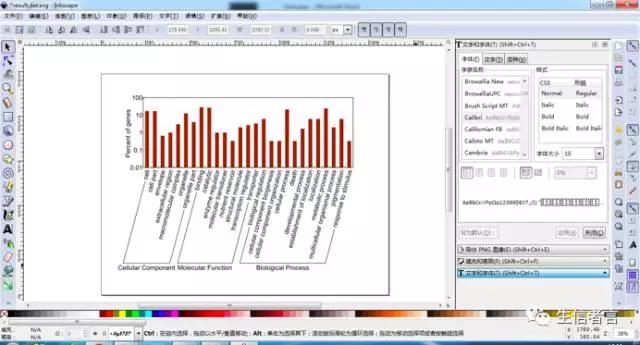
4
刪除冗餘圖像信息
使用工具 單擊「Number of genes」和「WEGO output」,單擊右鍵選擇「刪除」,接著框選圖像右邊的數字和標尺格以及圖像上角的標尺格單擊右鍵選擇「刪除」,結果如下圖所示,此時圖像顯得簡單直觀:
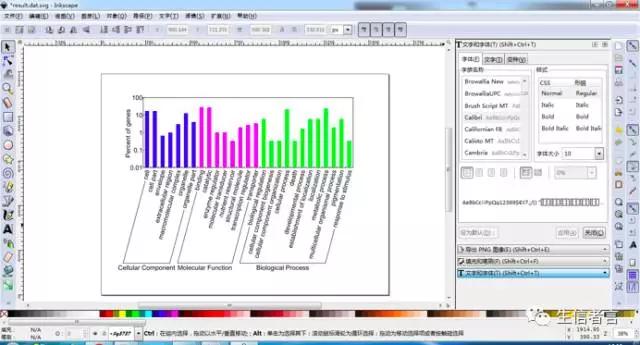
5
圖像填色
使用工具 ,首先按住「shift」鍵進行多項選擇「cellular component」相對應的柱狀,然後單擊調色區選擇填充顏色,以此類推完成"molecular function" 和"biological process" 圖像填充,最終效果圖如下所示:
6
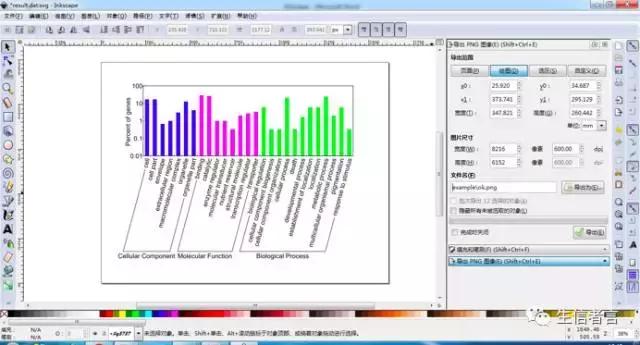
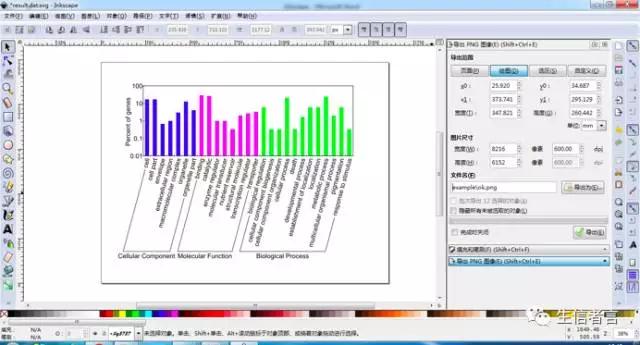
導出結果圖
首先選擇左上角「文件」,點擊「導出PNG圖像」,右邊編輯框選擇保存路徑、文件名,圖片尺寸,點擊「導出」就完成了所有步驟。
/End.